
You want a Server Rent your own server
fully customized Layten Hosting
How to Install OptiFine
With that out of the way, the following covers in detail the installation process of OptiFine:
Version Check
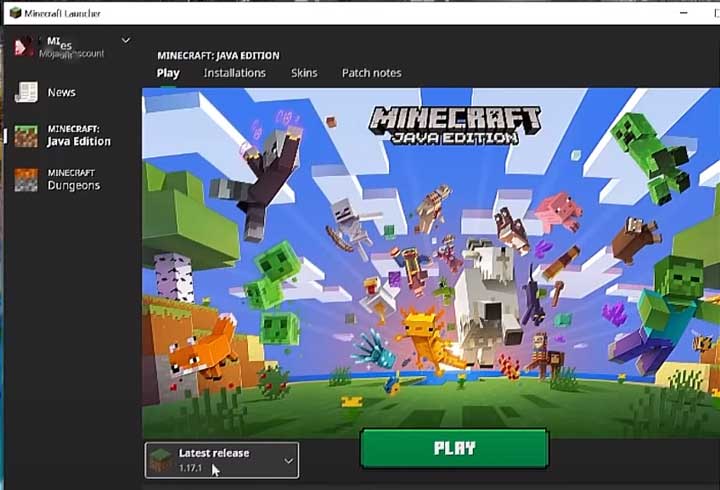
Before downloading OptiFine, launch the game and select Latest Release on the left of the Play button to check which version of Minecraft is installed on your computer.
Download the Installer
Step 1: Go to https://OptiFine.net/downloads. You will see a list of all the available versions, with the latest version at the top.
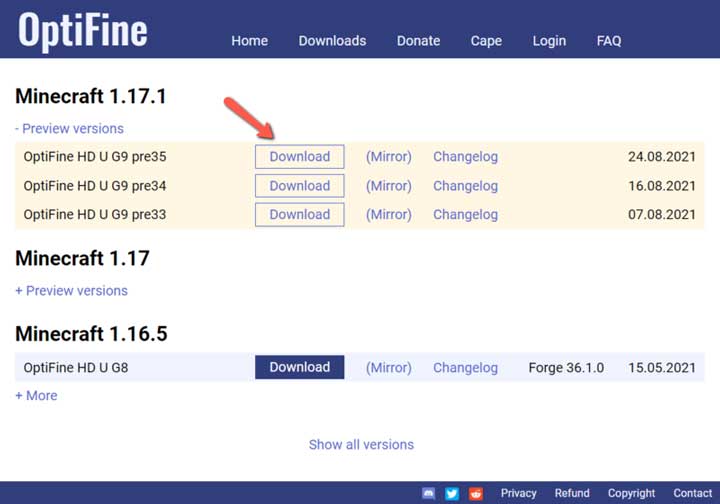
Step 2: If the version you want isn’t there, click on Show all versions at the bottom of the page. When you find your version, click on the Download button to install OptiFine.
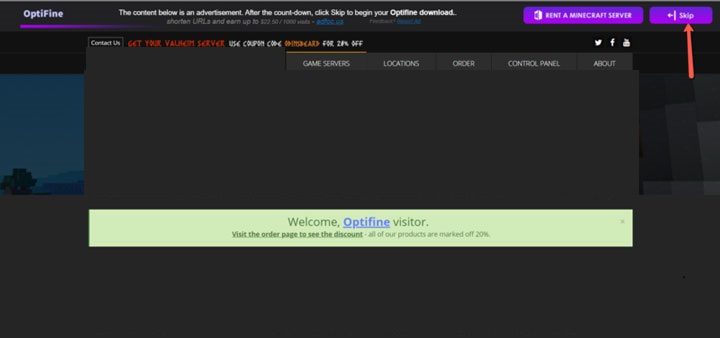
Step 3: You will be guided to an advertisement page. Wait for 5-10 seconds. A Skip button will show up on the top right corner; click on it to proceed.
Step 4: On the next page, click on Download to get the installer on your computer.
Note: If you plan to run OptiFine inside Minecraft Forge, you will need to install Forge first. Skip this step if you plan to run the mod as a standalone, which is easier.
Launch Installer
Step 1: Double-click the OptiFine setup file.
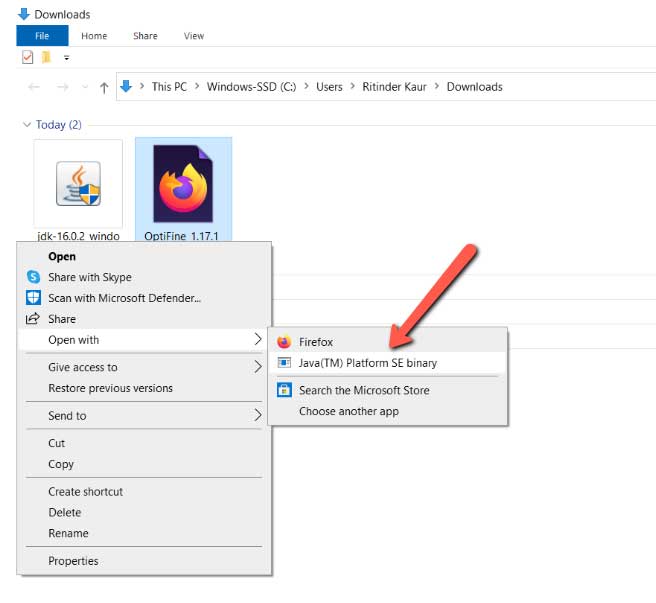
Step 2: Click on Open with>Java (™) Platform SE Binary.
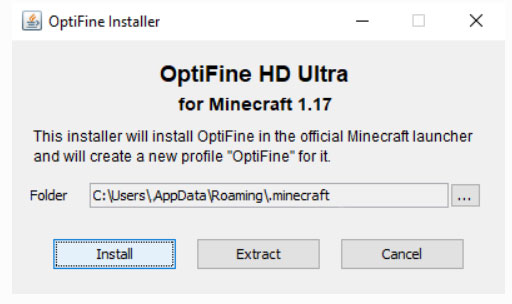
Step 3: You will see a popup that displays the path to the Minecraft folder; this is where the installer will be placed. So, make sure you install Minecraft before you get OptiFine. Click on Install.
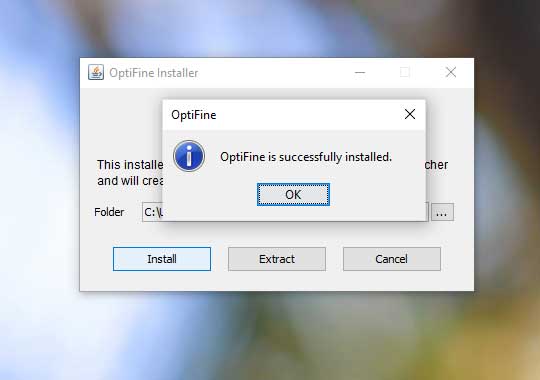
Step 4: When prompted, select OK to confirm that it is installed successfully.
Launch OptiFine in Minecraft
Step 1: Open the Minecraft Launcher on the desktop.

Step 2: To the left of the PLAY button at the bottom, you should see the latest version. If not, click on the drop-down arrow. Click on the latest version to run the install.
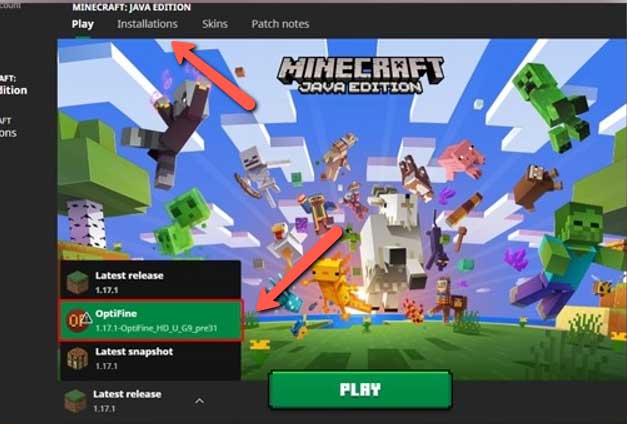
Step 3: If your downloaded version doesn’t appear in this list, click on Installations at the top. You will see your installer in the list. Select Play to launch OptiFine.
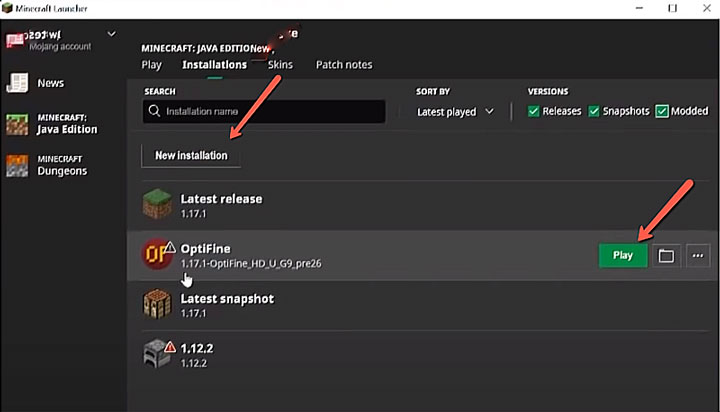
Step 4: Or click on New Installation. You will see a text input box Name with the header ‘Create new installation.
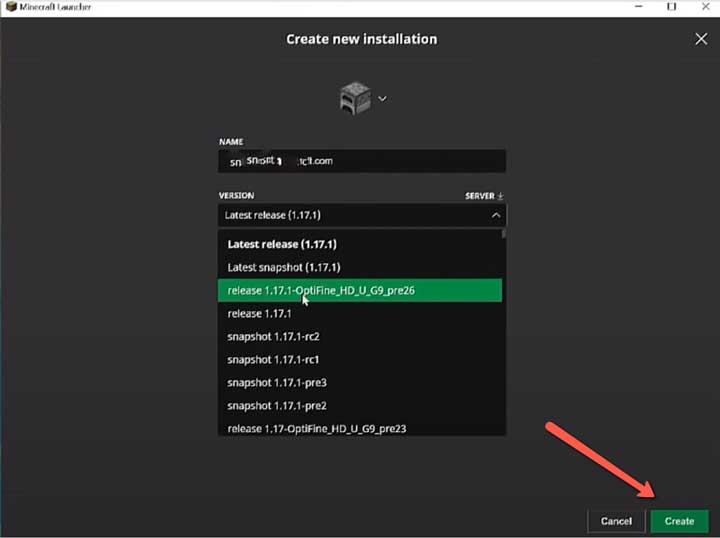
Step 5: Give this install a name. For Version, click the drop-down menu to select your downloaded installer. Click on the Create button at the bottom right of the screen.
Step 6: Launch Minecraft.
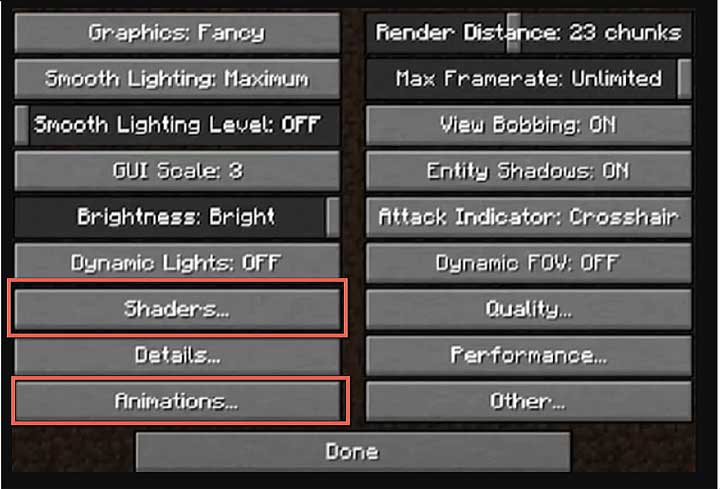
Step 7: Once the game is loaded, go to Video Settings to check if shaders and animations are displayed. If these are available, the install was successful.
Feature Enhancements
Scroll through the sub-menus in Video Settings. Hover your cursor over the new settings to see what they mean and which selection can speed up your game’s performance. Let’s look at some of these.
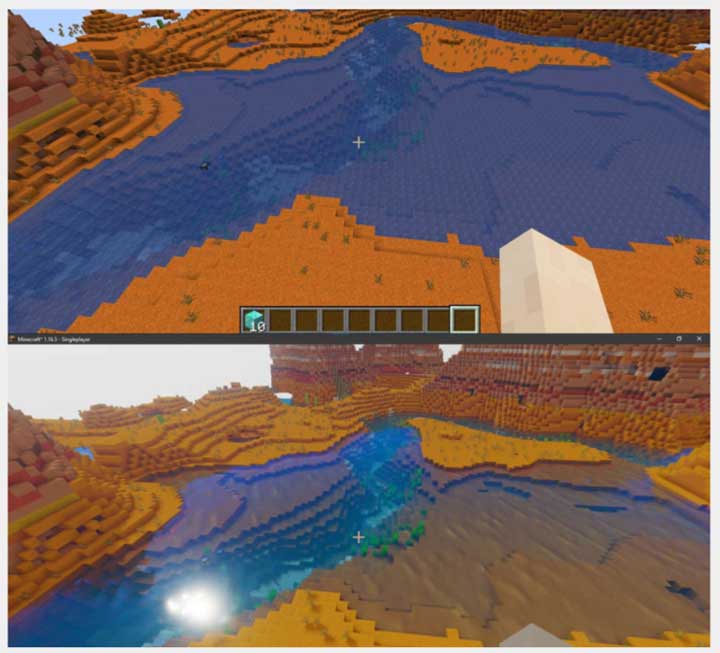
Support for Shader Packs
You can change how the lighting works in your Minecraft world by downloading shader packs. Then go to Minecraft>Options>Video Settings>Shaders. Open the Shaders Folder and move your downloaded pack into this folder. Restart Minecraft; you will see the new shaders pack in the Shaders menu.
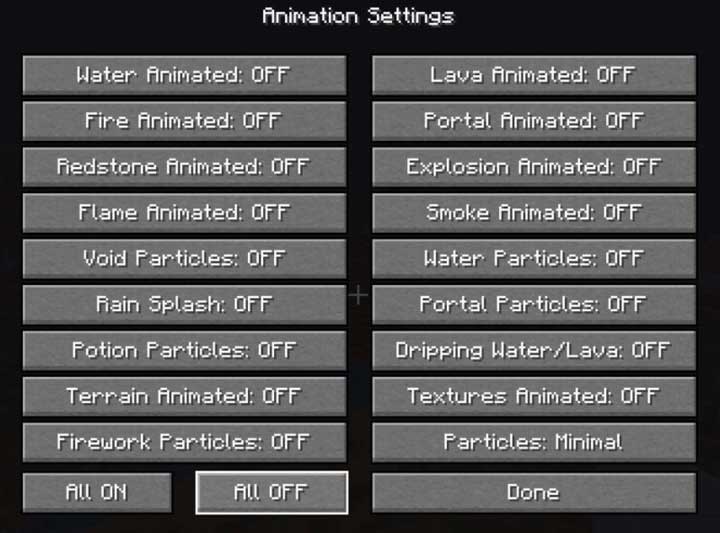
Configure Animation Effects
You can activate as many animation effects as you want to enhance the gameplay. But, there is a catch here; if you keep a lot of them ON they can lower your FPS, so pick and choose wisely.
Wrapping It Up
When you need to update OptiFine to the latest version, you don’t need to delete the previous version. Simply download and install the latest version from the vendor’s official website, and you are good to go! Do you recommend any other way to install OptiFine? Let us know in the comments below with your favorite process detailing how to install optifine!